Project Settings#
The project settings page allows you to manage access and resources for your project.
Project Quotas#
A quota is a usage limit set on a project. Teams use project quotas to accomplish their tasks by ensuring that members of the project, get their allocated share of compute resources. Without quotas, workloads belonging to some projects might use all the resources, leaving other workloads waiting.
Quotas define a minimum set of resources that are guaranteed. There is no maximum, so quotas can be exceeded if unused resources are available.
In AMD Resource Manager, you can manage GPU, CPU, memory, and disk quotas for your projects. When a new project is created, the quota for all resources is zero. Only after the project is created can the quotas be updated.
Note
In systems with only one project, the quota settings aren’t really needed. Only after having a second project does quota management become important.
Note
If a workload were to exceed its corresponding project’s quota, it will continue to run as long as there are idle resources available on the cluster. However, if the cluster becomes fully utilized, workloads from projects that have exceeded their quotas may be preempted to ensure that projects within their quotas can continue to run. For a workload to pre-empt another workload, it must belong to a project that is within its quota, while the workload being pre-empted belongs to a project that has exceeded its quota.
Guaranteed quota tab#
Within the Project Settings page, the Quota tabl allows you to adjust the project quota using the sliders or by inputting the required allocations into the fields.
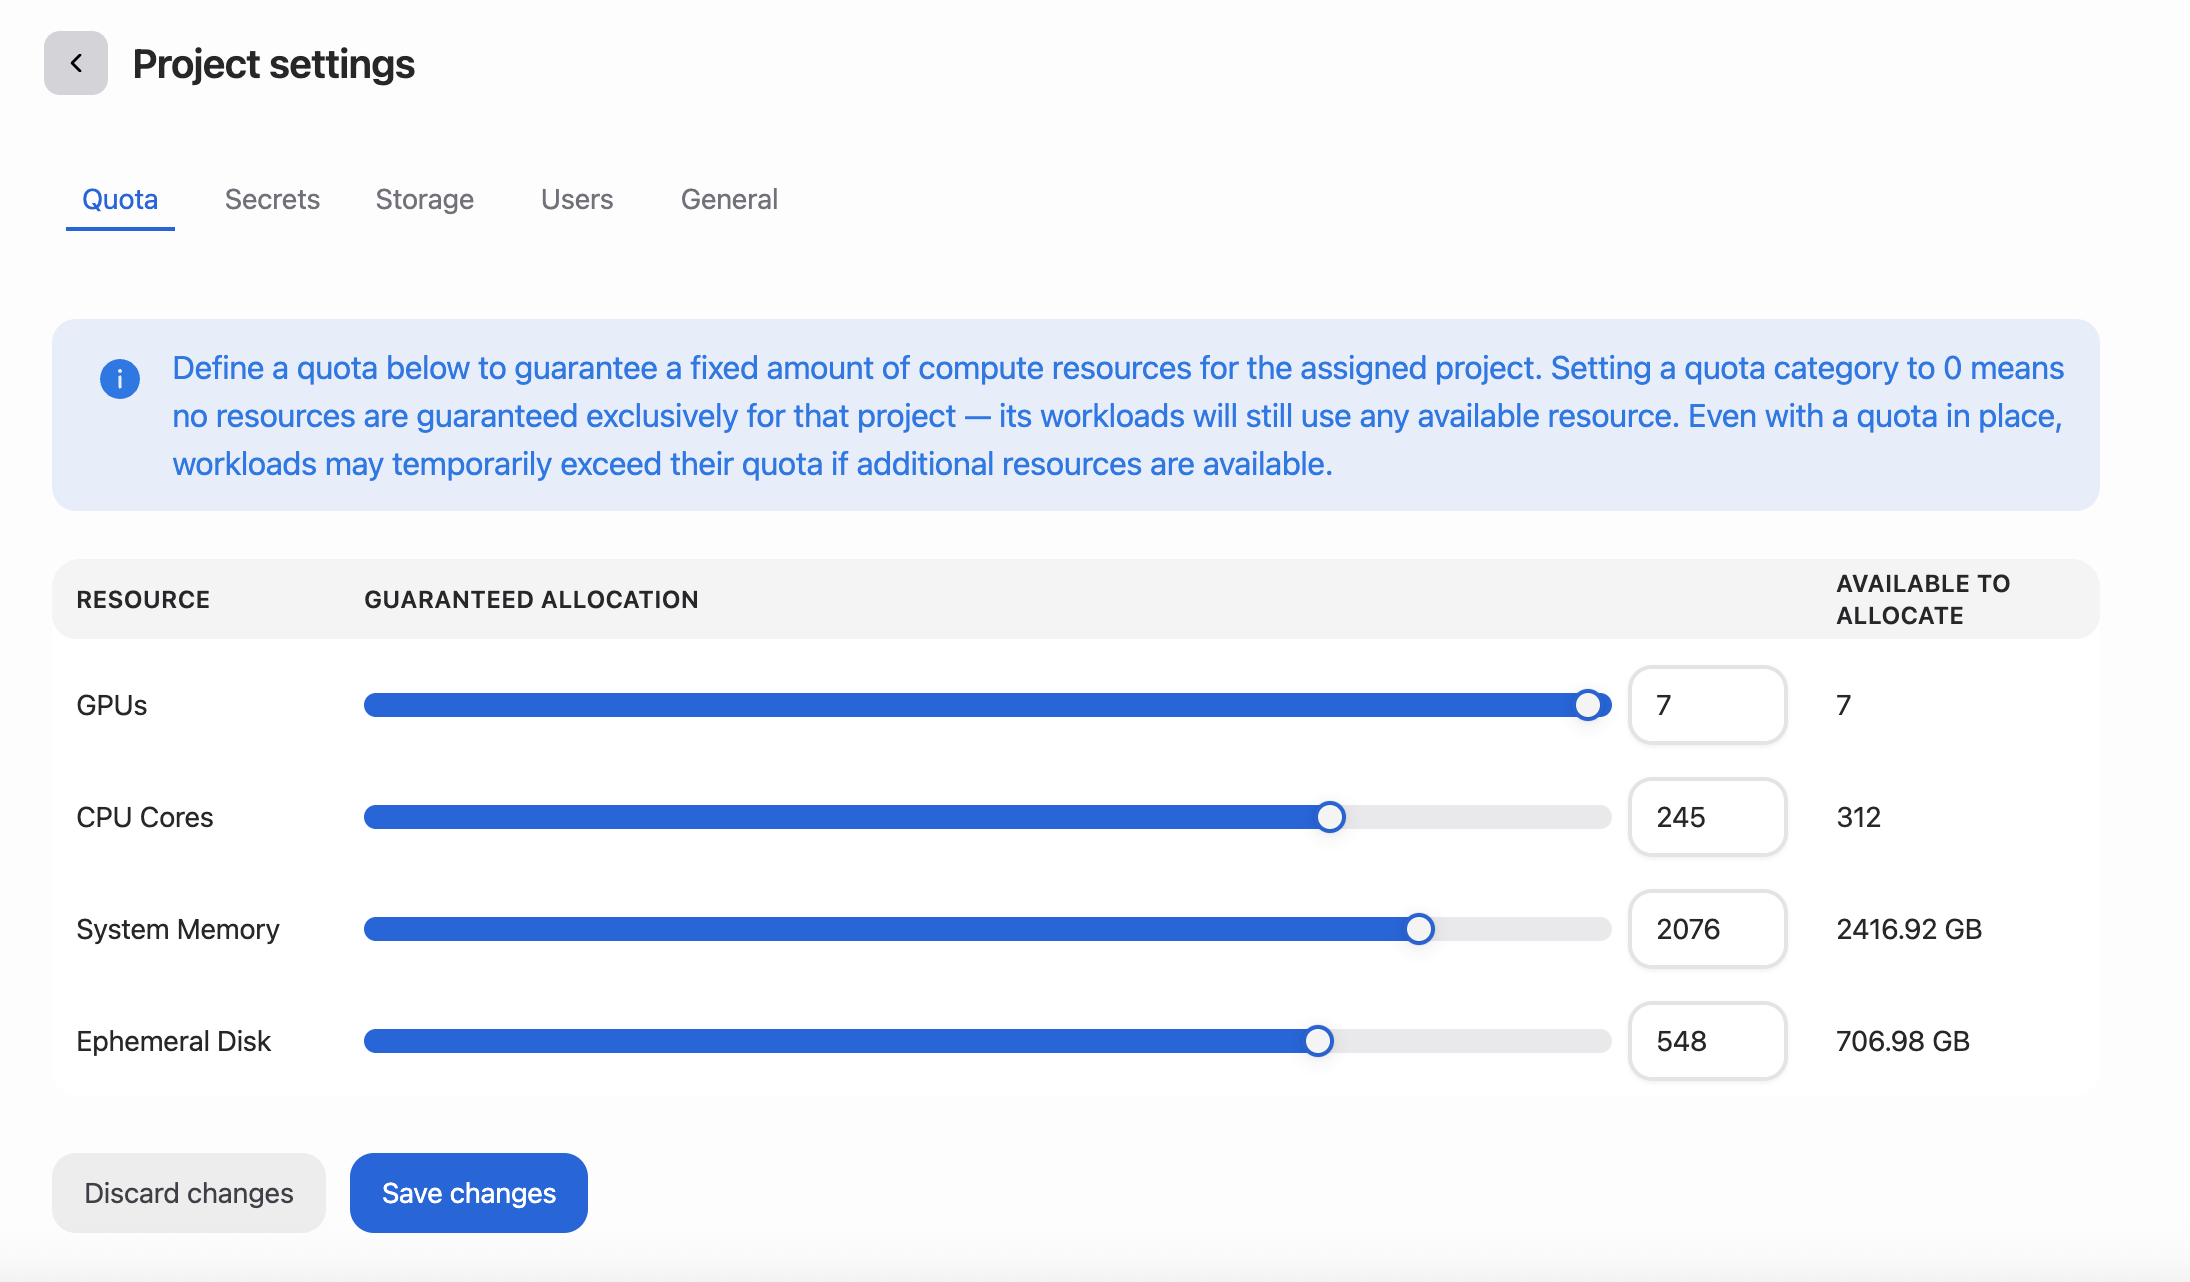
GPU allocation: Number of GPUs allocated for this project. Users belonging to this project are guaranteed the allocated GPU quota for their workloads.
CPU allocation: Number of CPUs allocated for this project. Users belonging to this project are guaranteed the allocated CPU quota for their workloads.
System memory: Memory allocation for this project. Users belonging to this project are guaranteed the allocated memory for their workloads.
Ephemeral disk allocation: Disk storage allocation for this project. Users belonging to this project are guaranteed the allocated storage for their workloads.
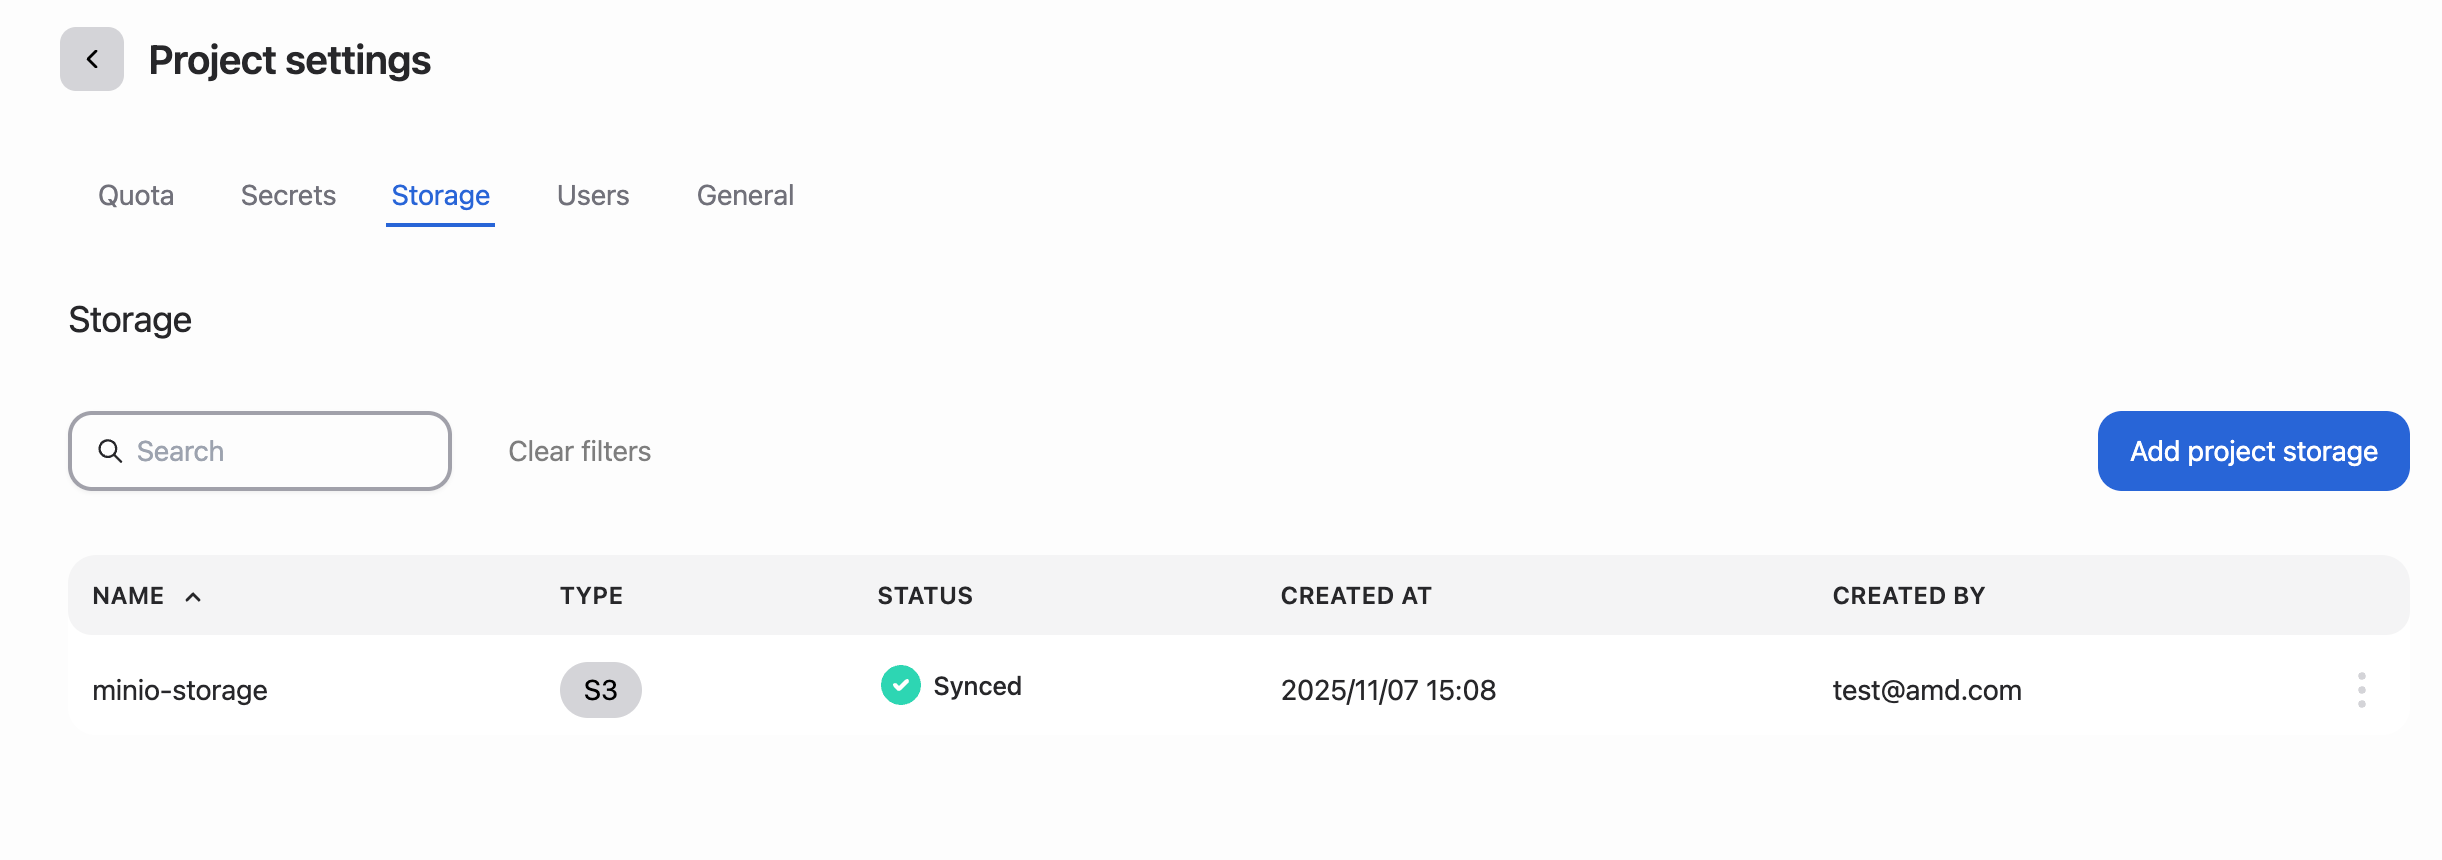
Project Storages#
The Storages tab of the Project Settings page allows you to manage storage resources assigned to the project. Storage resources, such as S3 buckets or file shares, are managed at the organizational level and can be assigned to projects as needed. When a Storage is assigned to a project, a Kubernetes Config map and the corresponding secret are created within the project’s namespace. This allows workloads within the project to access the assigned storage resources securely.
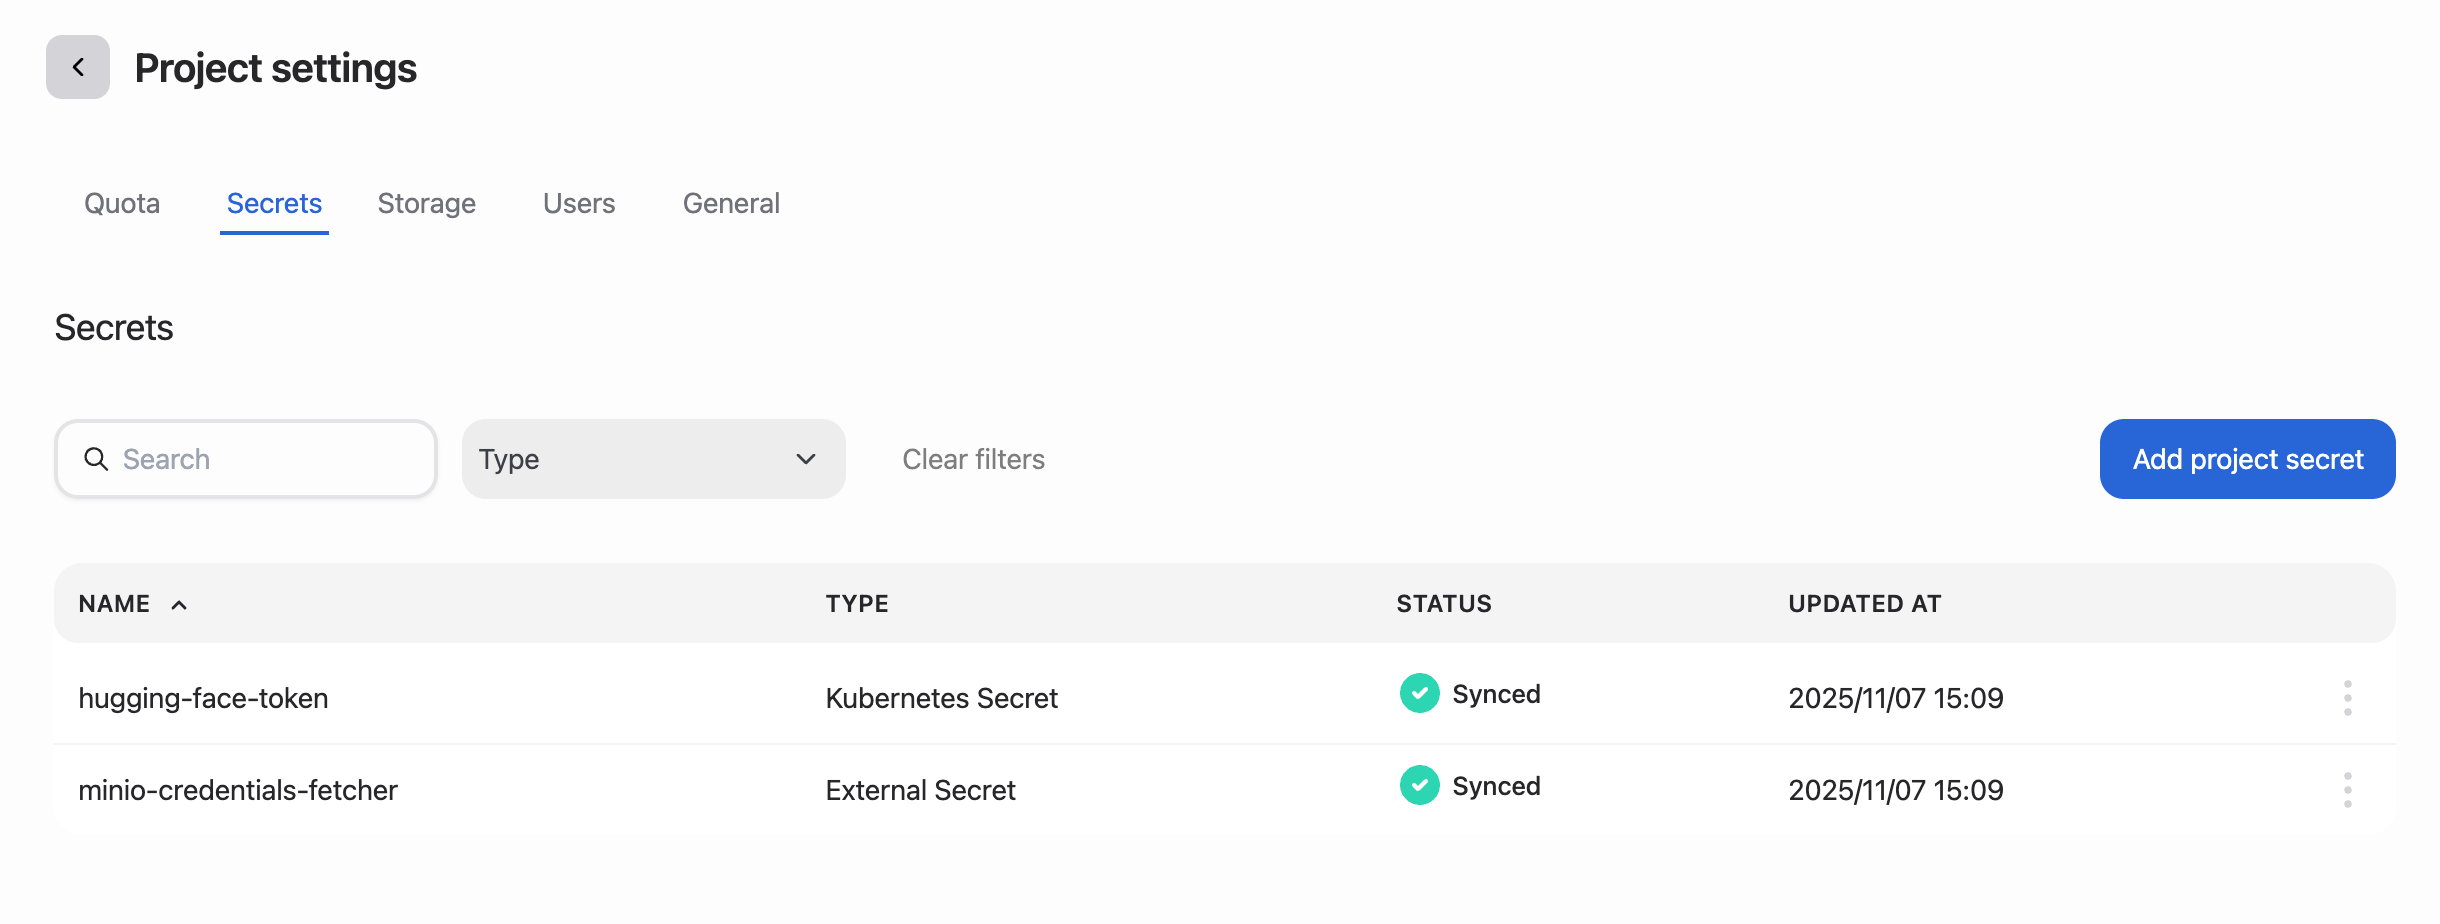
Project Secrets#
The Secrets tab of the Project Settings page allows you to manage sensitive information, such as API keys, passwords, or certificates, that are required by workloads within the project. When a Secret is created or assigned to a project, the corresponding Secret object - either a Kubernetes Secret or an External Secret - is created within the project’s namespace. This allows workloads within the project to access the secret data securely.
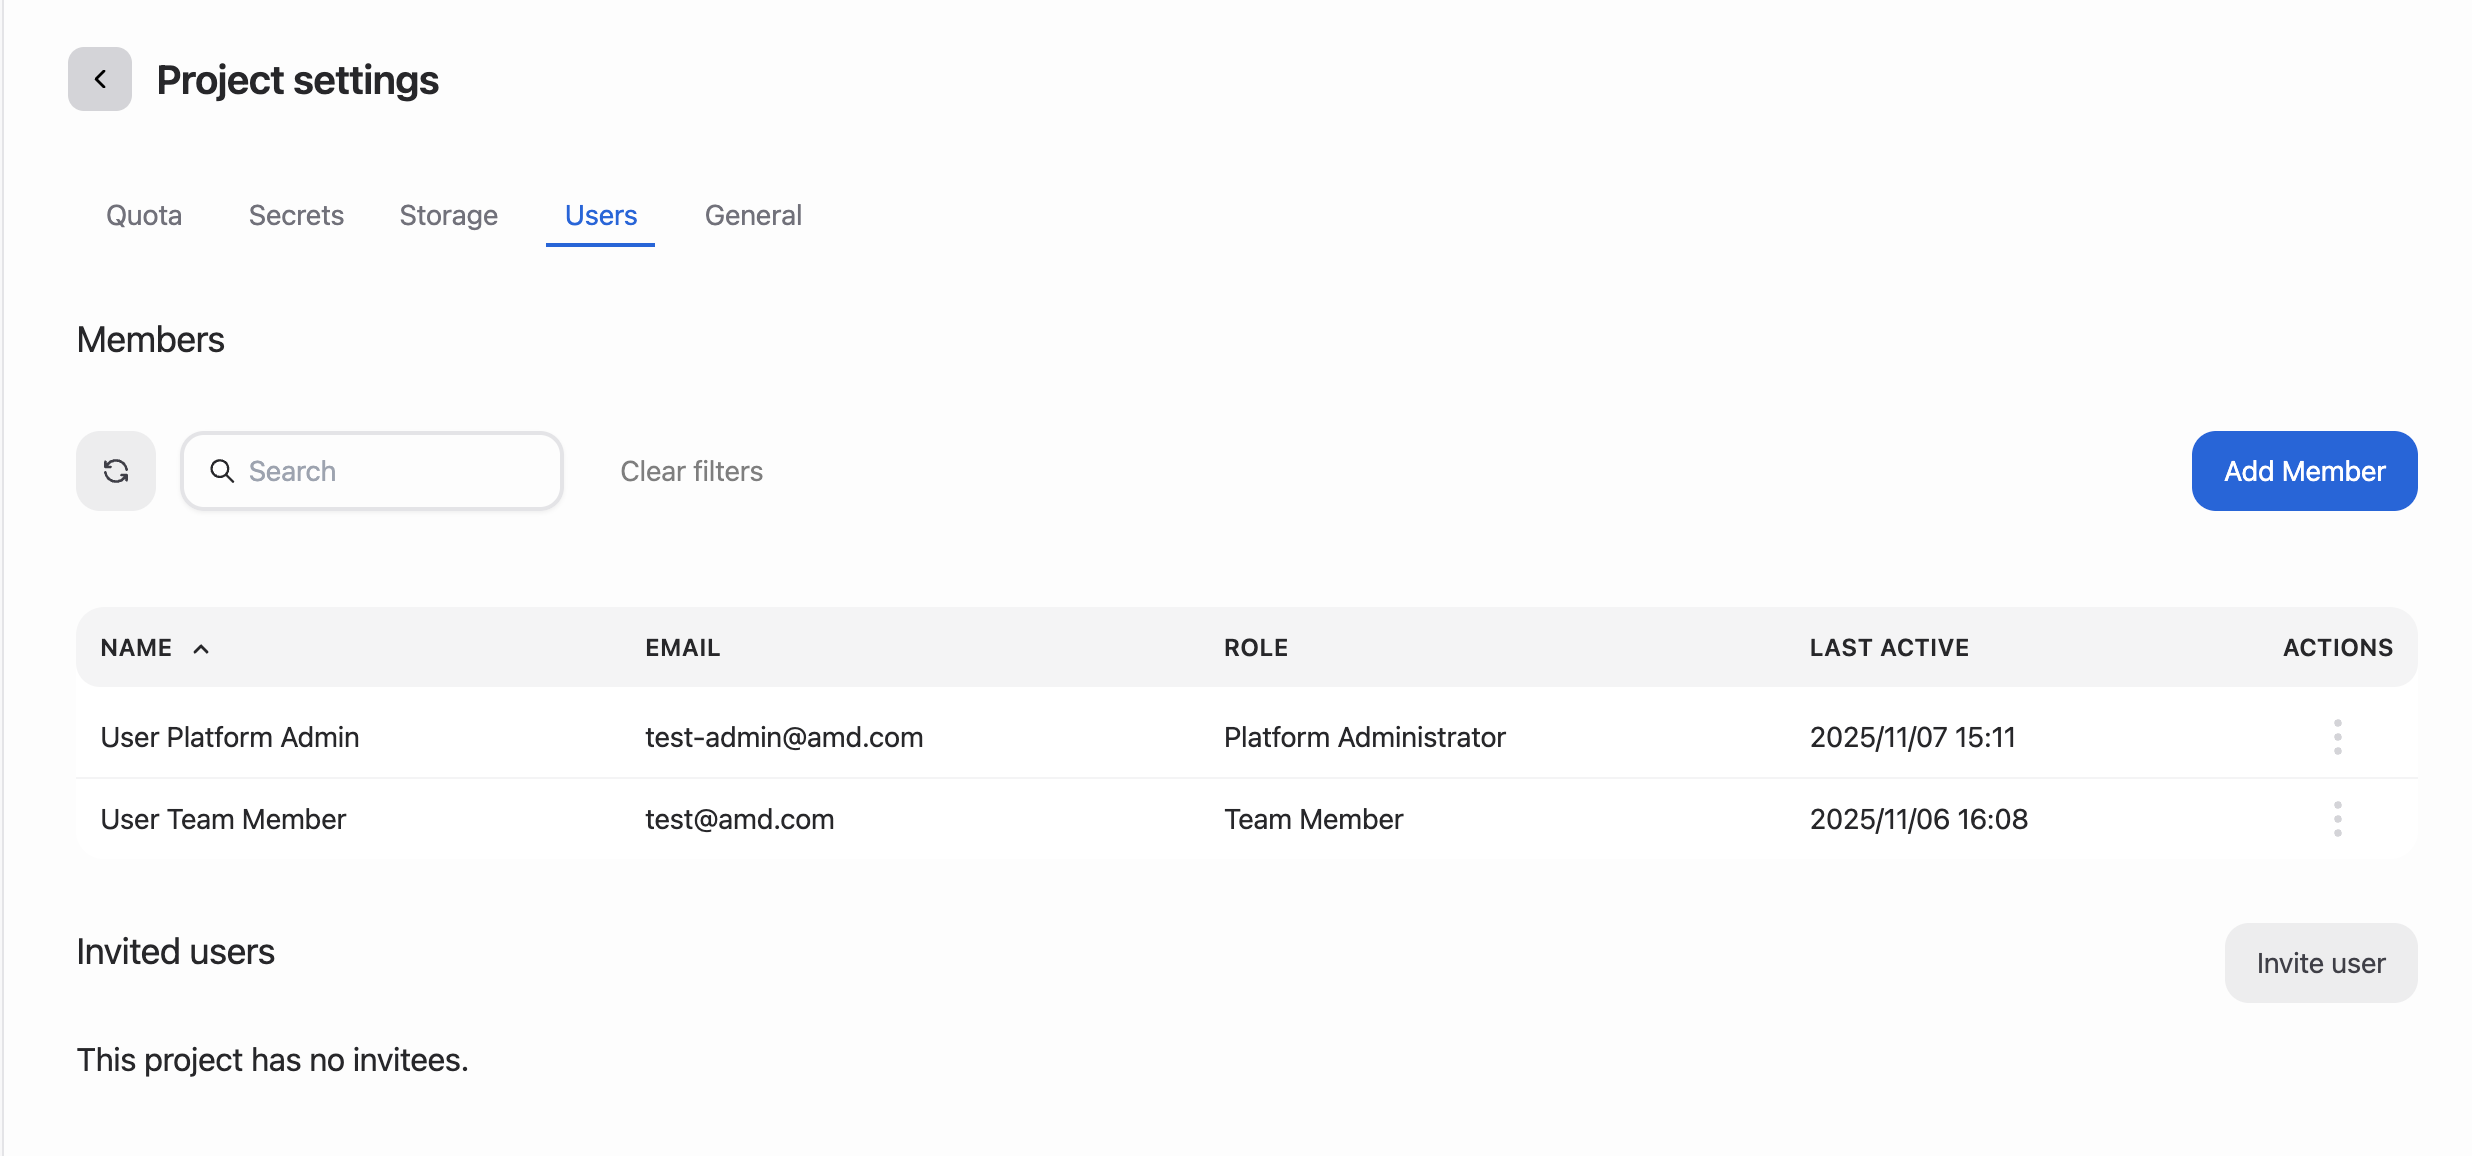
Users#
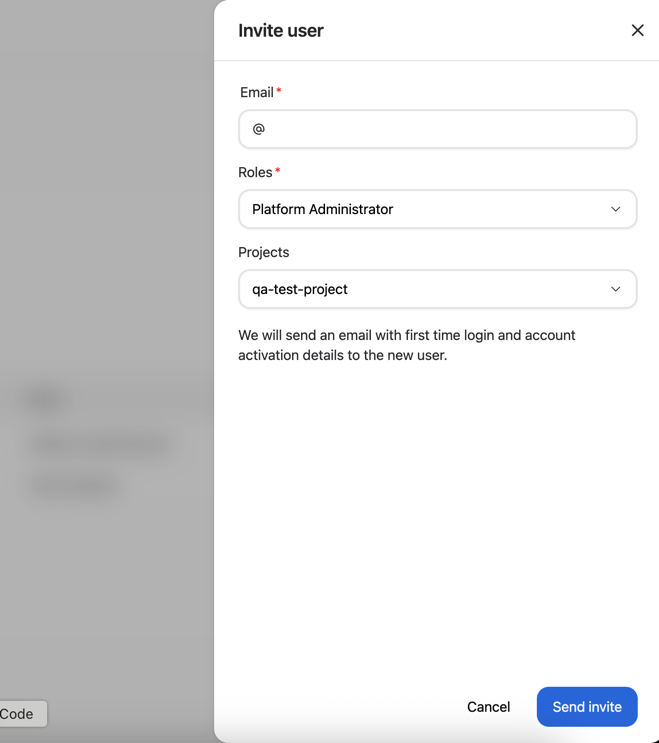
The Users tab of the Project Settings page allows you to manage user access to the project. You can add or remove users from the project, which inturn grants or revokes access to the namespace associated with the project. If your organization has SMTP configured, you can also invite users to join the project via email, using the Invite User button.
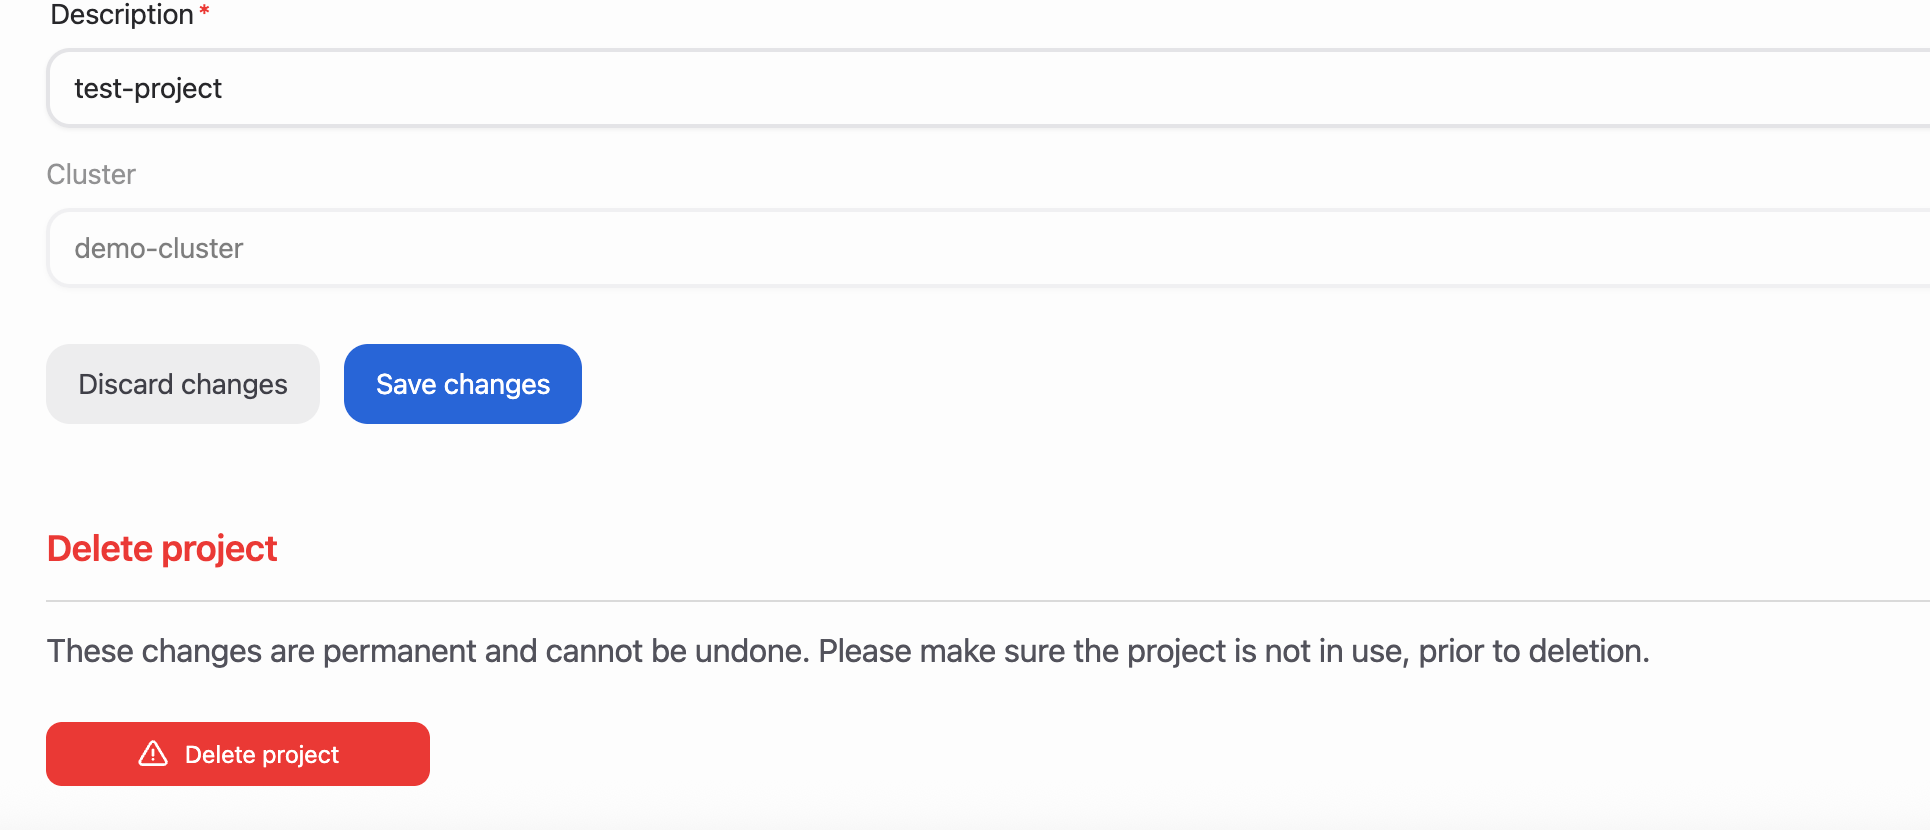
Deleting a Project#
If you need to delete a project, you can do so by navigating to the General Settings tab, and clicking the Delete Project button at the bottom of the page.
Warning
Deleting a project is a permanent action and cannot be undone. When you delete a project, all workloads, data, and configurations associated with that project will be permanently removed. Please ensure that you have backed up any important data before proceeding with the deletion.