Manage Projects#
Projects help you organize and manage your work in the platform. Each project is isolated from others, meaning resources, workloads, and secrets in one project are not accessible from another. This ensures security and clear boundaries for your work.
Project quotas#
Each project has a compute quota, which defines the guaranteed amount (such as CPUs, memory, and GPUs) that can be used by workloads in that project - resources on the cluster can be borrowed by a project as long as they are idling. This promotes fair distribution by guaranteeing each project a minimum share, while still allowing projects to temporarily use idle resources when available.
User access#
Only platform administrators can create new projects and assign users to them. Regular users can only access and run workloads in projects they are assigned to.
Project secrets#
Projects can securely store and access secrets (such as API keys or credentials) required by their workloads. Secrets are managed at the organizational level and can be assigned to, or shared across, projects as needed.
Project storages#
Similar to secrets, storage resources (like S3 buckets or file shares) are managed at the organizational level and can be assigned to projects. This allows projects to access necessary storage resources while they are configured centrally.
Creating and managing projects#
Project names must be unique and follow naming rules: use only lowercase letters, numbers, and dashes (no spaces or special characters).
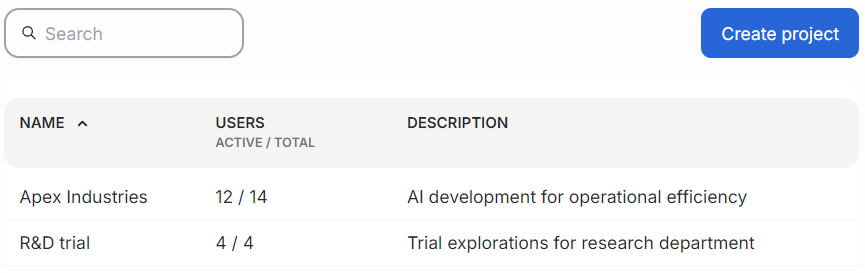
The main projects view lists available projects, the number of assigned users, and a short description of each project. To add a new project, click the “Create project” button.
Projects and namespaces#
To facilitate security and isolation of workloads, each project triggers the creation of a corresponding namespace in the underlying Kubernetes cluster. This namespace is used to contain all resources related to that project, ensuring that workloads and data are properly segregated. Users assigned to a project are granted access to its namespace, allowing them to manage and run workloads within that specific context.
Viewing and editing projects#
Select a project by clicking it on the Projects page. When a project is selected, the Actions button appears; open Actions (⋯) and choose Edit settings to open the project settings page. There, you can edit project details. Note that the project’s name is permanent and cannot be changed. Click Save changes to apply updates.
On the Details tab, the Danger zone contains Delete project. Deleting a project will permanently remove all associated workloads, data, and secrets. This action cannot be undone, so use caution. For more context, see Project Settings.
The right pane lists users assigned to the project and provides an option to add new project members. Administrators can also invite new users directly to the project if SMTP is configured for the organization.
Accessing AI Workbench#
You can quickly access AI Workbench for a project from the projects table context menu. This link opens the project directly in AI Workbench, where you can manage workloads, models, and other AI resources. The link is available when AI Workbench is installed on the project’s cluster.